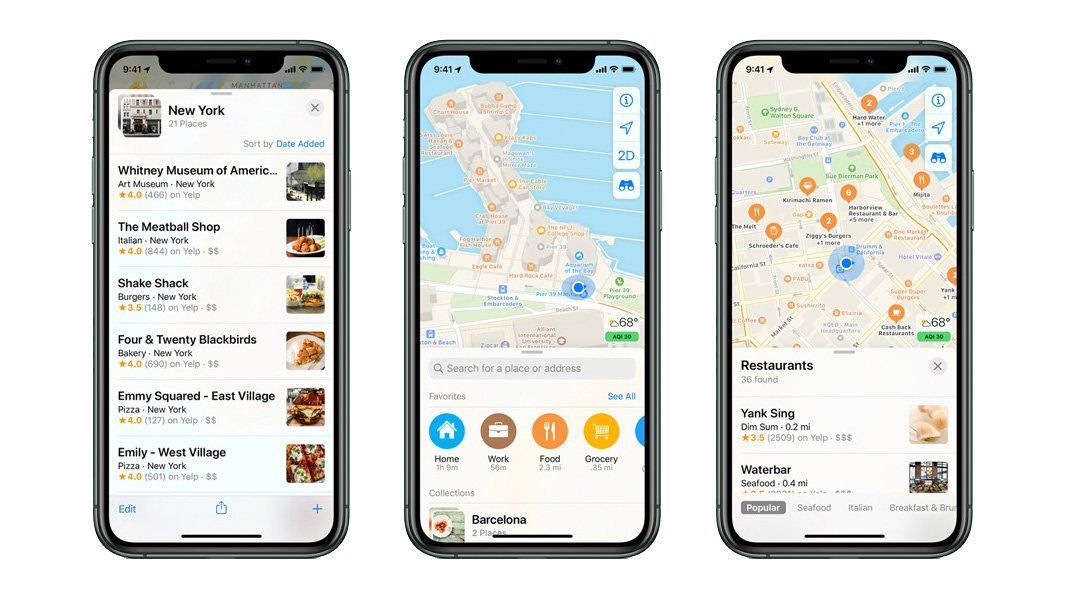
If you're looking to increase your business's visibility and get a big SEO boost? Then you should consider adding it to Apple Maps. Apple Maps is a great way to get your business in front of millions of potential customers - and it has a major domain authority ranking factor. In this blog post, we will discuss the process of adding your business to Apple Maps and some tips for optimizing your listing. Adding your business to Apple Maps is a quick and easy process, and it can help improve your search engine rankings!
To add your business to Apple Maps, open the Apple Maps app and search for your business. If your business is not listed, you will see a message that says 'No results found'. Tap on the 'Add a Listing' button and fill out the required information. Once you've added your listing, be sure to optimize it for maximum visibility! Include keywords in your business name and description so that potential customers can easily find you when they search for businesses like yours.
1. GO TO APPLE MAPS
Log in with your Apple ID and password. If you don’t have an Apple ID, you’ll have to get one. There’s no way around it. Apple is very strict about who gets to manage their Maps listings.
If you manage multiple businesses, you can add them all to your Apple Maps Connect account and switch between them easily. After logging in, click on the “+” sign in the upper-left corner to add a new listing.
2. SELECT YOUR RELATIONSHIP TO YOUR BUSINESS.
You’ll be prompted to do this on the Add a New Business Page, which you’ll be automatically directed to after you log in. You can either select “I’m the business owner or “I’m authorized by the business owner.”

You will be asked to search for your business by name and address. If your business is already on Apple Maps, it will show up in the search results. If not, you’ll get a message that says “No Results Found.” Click on the “Add a Listing” button and fill out the required information.
3. ENTER YOUR BASIC BUSINESS DETAILS.
This is where you key in your business name, primary business phone number and business address. You can also select a category for your business. If you don’t see an appropriate category, you can suggest a new one.
Be sure to enter your business name exactly as you want it to appear on Apple Maps. This is important for search engine optimization (SEO) purposes.
4. VERIFY YOUR BUSINESS PHONE NUMBER.
You will be prompted to allow Apple to call the number you supply. The call will provide you with a PIN code from Apple. If needed, you can opt to “Verify Later.”
5. CONFIRM YOUR BUSINESS LOCATION.
Confirm your business location on the map. You can also adjust the placement of the marker if needed. If your business has multiple locations, you can add them all here.
6. REVIEW YOUR BUSINESS INFORMATION.
Make sure all your business information is accurate and up-to-date. This includes your hours of operation, website URL, and payment methods. You can also add photos, videos, and virtual tours of your business here.
Once you’ve added your listing, be sure to optimize it for maximum visibility! Include keywords in your business name and description so that potential customers can easily find you when they search for businesses like yours.


